
How to Measure Liquid Ingredients
For a standard side-marked liquid jug, put it on a level counter, let the liquid settle and read the mark at eye height. If its angled scale is designed to be read from above, use that scale instead. A spoon or scale may be better for very small or sticky portions.
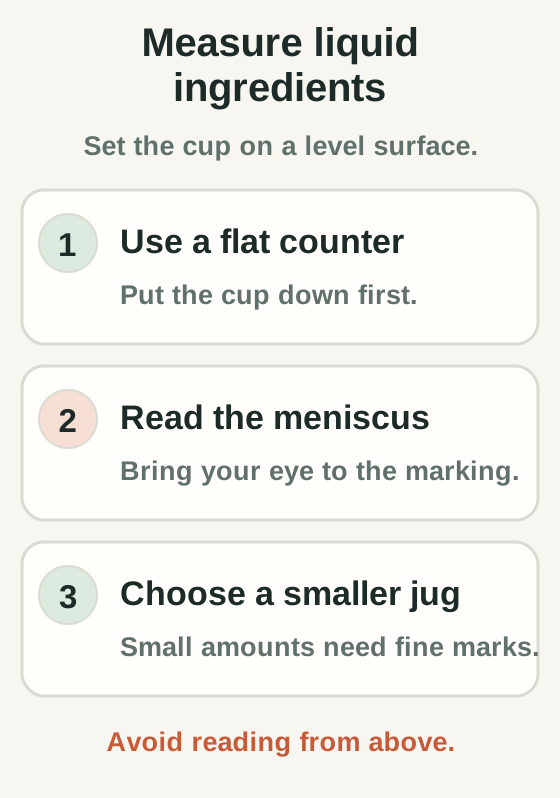
Why eye level and the meniscus matter
Looking down from above makes the scale look displaced relative to the liquid surface. This is parallax: the viewing angle, not the liquid volume, changes your apparent reading. Holding the jug midair also allows the liquid to move. Correct the geometry before assuming the jug's printed scale is inaccurate.
For a jug with ordinary graduations on its side, crouch so your eyes are level with the printed mark; do not lift or tilt the jug to meet your face. An angled top-view measuring cup is a genuine exception: OXO's measuring guide describes angled markings designed to be read from above. If your cup has that feature, use its top-reading scale from above as intended. Do not look down at an ordinary vertical side scale and assume the same rule applies.
Thin clear liquids can form a curved meniscus where they meet the container wall. When the lowest point of a clear, concave surface is visible, align that point with the mark at eye level; do not chase the liquid rising along the sides. For opaque, foamy or thick liquids the curve can be hard to see, so follow the utensil's guidance and use a practical level reading rather than claiming laboratory precision.
Repeat the reading only once the surface stops moving. A wide cup, a cloudy jug and a line hidden by printed branding can make a nominally correct unit difficult to read. Choose the smallest practical graduated vessel: for 60 mL, Health Canada recommends a 250 mL cup rather than a 1 L jug. Use a recipe-specified weight when that is more repeatable.
Reading a liquid jug without parallax
- Put the graduated jug on a level counter instead of holding it.
- Pour the free-flowing liquid slowly and let the surface settle.
- Bring your eyes level with the marked line and read the appropriate surface level.
- Use a smaller marked spoon or the recipe's weight when the liquid is too sticky or the amount too small for the jug.
Choose another measure for thick or tiny amounts
Honey and molasses cling to the cup, so the amount poured out can be less than the amount that reached its printed line. A suitable small measure, a weighed portion where the recipe provides grams or cautious scraping may reduce transfer loss. Thick yogurt and nut butter do not self-level like water; a rim-level dry cup or a scale is usually easier than relying on a liquid jug's side line.
For a teaspoon of vanilla, lemon juice or vinegar, a marked teaspoon is often easier to use than a full-size liquid jug. Never treat an ordinary dining spoon as a calibrated teaspoon, and never equate fluid ounces with weight ounces simply because both appear in cooking instructions.
Check which cup convention the mark represents
For US customary volume, 1 US cup = 8 US fl oz = 16 US tbsp, approximately 236.59 mL under the site's exact unit ratios. FDA nutrition labels use rounded 240 mL/cup; do not mistake that labeling rule for a contradiction in your jug. If an overseas recipe specifies 250 mL or a metric cup, follow its author's stated unit and measuring marks rather than a US assumption.
For example, if your US recipe asks for 1 US cup of water and your jug is marked only in mL, aim for about 237 mL, not 250 mL. The 250 mL mark is about 13.4 mL (5.7%) higher than a US customary cup. If graduations are too widely spaced to judge 237 mL reliably, use a smaller, more finely marked cup or a clearly labeled 8 US fl oz mark; do not invent accuracy between lines. These are volume comparisons, not gram conversions.
When measuring another quantity, use the milliliters-to-cups converter only after confirming the cup system; the technique of level-counter, eye-height reading works regardless of which correctly labeled measuring jug you choose.
Official practical liquid-measuring instructions: Health Canada: measure ingredients like a pro.